
There is a reason patio string lights show up in every outdoor living inspiration board online. They create a warm, relaxed atmosphere that makes any outdoor space feel like a place you want to spend time. Restaurants, wineries, and boutique hotels figured this out years ago. Now homeowners want the same effect in their own backyards.
But here is the thing about string lights that look effortless: they take planning. The ones that actually look great are carefully laid out with the right spacing, the right height, the right anchor points, and the right bulb type. The ones that look like an afterthought usually are.
If you want your patio string lights to look like they belong, here is how to plan the layout before you hang a single strand.
Define Your Space First
Before you think about lights, think about the area you want to cover. String lights work best when they define a space rather than just existing randomly above it.
Walk into your backyard and look at where people actually gather. Is it the patio directly off the back door? The area around the fire pit? A section of the deck near the outdoor dining table? A seating area under a pergola?
That gathering zone is your lighting area. The string lights should cover it like a ceiling, creating a canopy of warm light that makes the space feel enclosed and intentional without walls.
Measure the area roughly. You do not need exact dimensions, but knowing whether you are covering a 10 by 12 foot patio or a 20 by 30 foot deck changes everything about the layout, the number of strands, and the anchor points you need.
Choose Your Layout Pattern
There are a few standard layout patterns for patio string lights, and the right one depends on the shape of your space and the anchor points available.
Parallel Lines
This is the most common and the easiest to execute. Strands run in parallel lines across the space, spaced 3 to 4 feet apart. The effect is clean, even, and structured.
Parallel lines work best over rectangular spaces like a deck, a patio dining area, or a long covered porch. They create a uniform canopy of light that covers the entire area evenly.
Zigzag
In a zigzag layout, a single long strand crosses back and forth across the space, attaching to alternating anchor points on opposite sides. The strand creates a series of V shapes overhead.
This pattern works well for narrower spaces and requires fewer anchor points than parallel lines. It uses the strand efficiently and creates a casual, slightly more organic look.
Radial (Spoke Pattern)
In a radial layout, strands extend outward from a central point, like the spokes of a wheel. The center point is usually a post, a tree trunk, or a hook mounted on a pole.
This pattern works well for square spaces, circular patios, and areas centered around a feature like a fire pit or a large table. It creates a tent-like canopy that feels enclosed and focused.
Perimeter Only
Sometimes the best approach is to hang string lights around the perimeter of the space rather than across it. The strands follow the edges, mounted on posts, fences, or the eaves of the house, and the center of the space is open sky.
This works well for large areas where running strands across the middle would require very long spans (which sag) or for homeowners who want ambient glow without a full overhead canopy.
Getting the Height Right
Height is one of the most common things people get wrong with string lights. Too low and the bulbs are in your face when you stand up. Too high and the light feels distant and disconnected from the space below.
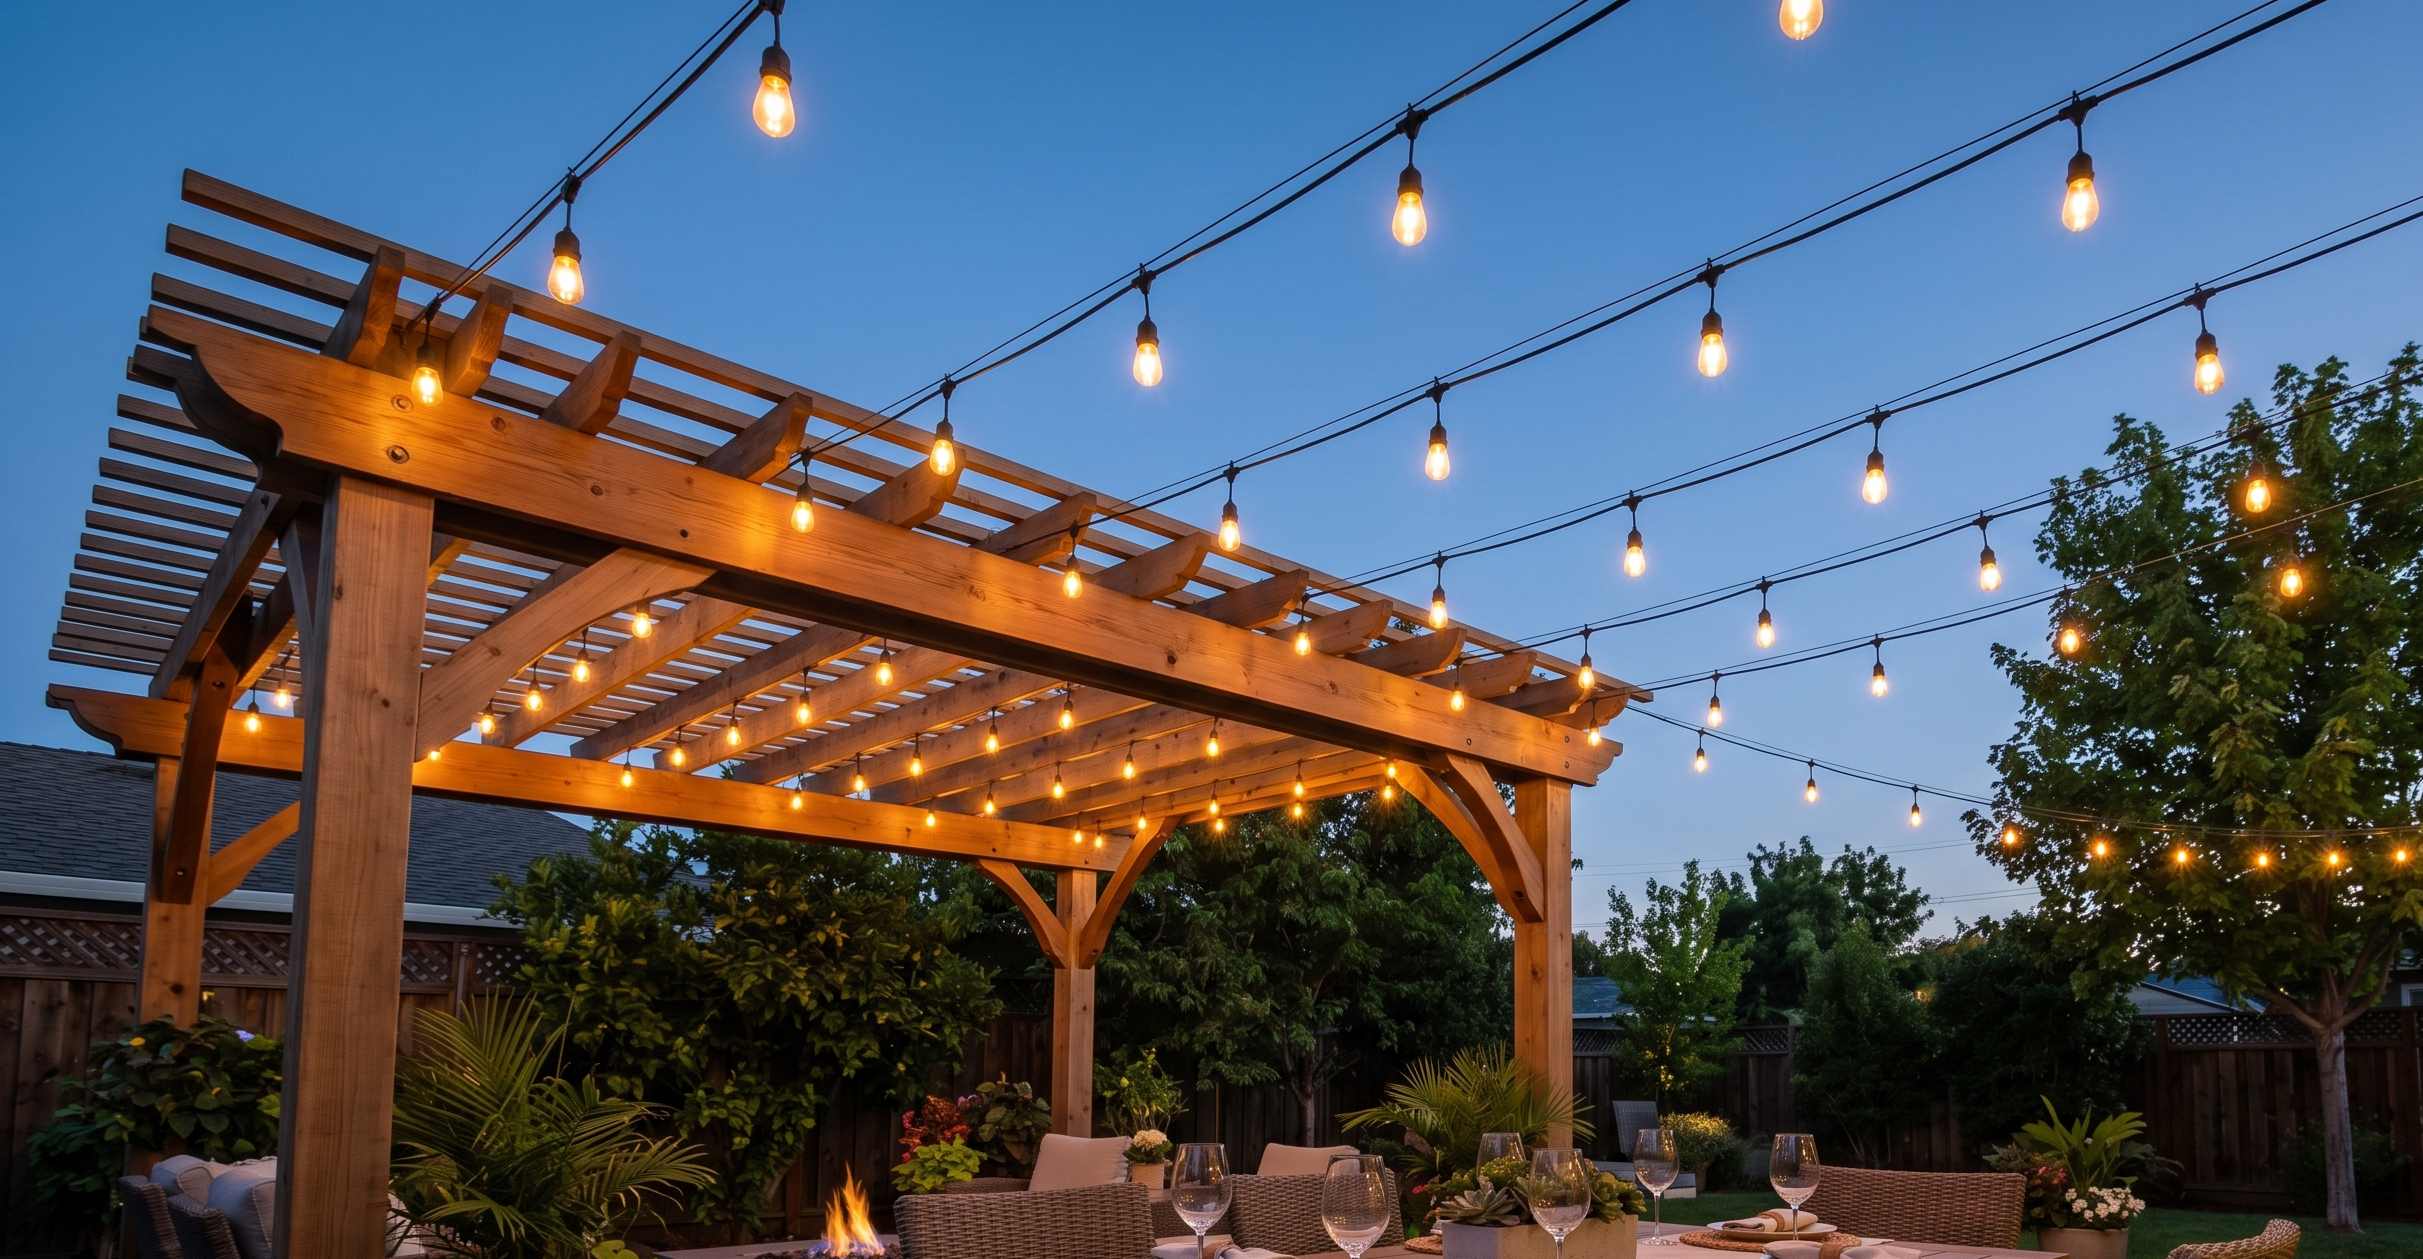
The ideal hanging height for patio string lights is 8 to 10 feet above the ground. At that height, the bulbs are well above head level (even for tall guests), the light reaches the ground with a warm, comfortable intensity, and the strands have enough visual presence to define the space.
If you are working with a pergola, covered porch, or other structure with a fixed ceiling height, you are somewhat locked in. Most residential pergolas and covered patios fall in the 8 to 10 foot range naturally, which is convenient.
If you are hanging lights in an open space without a structure, you will need posts or poles to achieve the right height. More on that in a moment.
Anchor Points: What to Attach To
String lights need something to attach to at both ends and at any point where the strand changes direction. The strength and stability of these anchor points determine whether your lights stay taut and level or sag and droop over time.
Existing Structures
The easiest anchor points are structures that already exist. Pergola beams, porch columns, deck railing posts, the fascia board under your eaves, fence posts, and tree trunks all work well. Screw-in hooks or eye bolts rated for outdoor use provide a secure attachment point.
If you are attaching to the house, make sure the hook or eye bolt goes into solid framing (a stud, a rafter tail, or a structural beam) rather than just into siding or trim. String lights, especially long runs, exert more tension than you might expect, and a hook pulled out of thin siding will take a chunk of your house with it.
Posts and Poles
For open areas without structures, freestanding posts are the standard solution. A 4×4 treated wood post set 2 feet into the ground with concrete gives you a solid, permanent anchor point. Metal poles designed specifically for string lights are also available and offer a cleaner look.
Posts should be tall enough to hold the lights at 8 to 10 feet and sturdy enough to resist the tension of the strands plus wind loads. In Indiana, where summer storms can bring strong gusts, flimsy poles are a recipe for frustration.
Plan your post locations so they sit at the edges of the space, not in the middle of it. Posts in the middle of a patio or walkway are obstacles that people bump into in the dark.
Trees
Large trees with sturdy branches can serve as anchor points, but use them carefully. Attach the strand to the trunk or a major branch, not a small limb that will flex in the wind. Use a tree-safe attachment method (like a strap or wrap-around hook) rather than screwing directly into the trunk.
Keep in mind that trees move in the wind, and that movement translates to the string lights. A strand stretched tightly between a tree and a rigid post will get pulled and stressed every time the tree sways. Leave a bit of slack in any run that connects to a living tree.
Managing Sag
Sag is the enemy of clean-looking string lights. Over a long span, gravity pulls the middle of the strand downward, creating a visible droop that looks sloppy.
The longer the span, the worse the sag. A 20-foot run between two posts will sag noticeably. A 40-foot run will sag dramatically.
There are a few ways to manage this.
Keep individual spans under 20 to 25 feet. If the total distance across your space is longer than that, add an intermediate anchor point (a post, a pole, or a guide wire) to break the run into shorter segments.
Use a guide wire. A stainless steel cable or coated wire strung tightly between your anchor points provides a support line for the string lights. You drape or clip the light strand to the guide wire, which carries the weight and keeps everything level. This is how professionals handle long runs and open spans.
Choose the right strand weight. Heavier commercial-grade strands with larger bulbs sag more than lighter strands with smaller bulbs. If your spans are long, a lighter strand will hold its line better.
Bulb Size and Style
The bulb you choose affects the look of the entire installation. The two most popular options for residential patios are the Edison-style bulb and the globe bulb.
Edison-style bulbs (also called ST64 or vintage filament bulbs) have a warm, amber glow with visible filament-style LED elements inside a clear glass body. They look warm, nostalgic, and inviting. This is the style you see in most restaurant patio settings.
Globe bulbs (G40 or G50) are round, frosted or clear spheres that produce a softer, more diffused light. They feel slightly more modern and less rustic than Edison bulbs.
Either style works well. The choice comes down to personal taste and the aesthetic of your outdoor space.
Bulb spacing on the strand also matters. Most residential patio string lights come with bulbs spaced 12 to 24 inches apart. Closer spacing (12 inches) creates a denser, more luminous canopy. Wider spacing (24 inches) creates a more open, airy feel.
Connecting to Power
String lights need a power source, and how you connect to it affects both the look and the long-term reliability of the installation.
The simplest approach is running an outdoor-rated extension cord from a GFCI outlet on your house to the start of the light strand. This works, but visible extension cords running across the patio or through the garden look messy and create tripping hazards.
A cleaner approach is having an electrician install a dedicated outdoor outlet near the area where the lights start. The wiring runs inside the wall or underground, out of sight, and the outlet gives you a clean connection point.
For a fully integrated setup, your string lights can connect to the same low voltage transformer that powers the rest of your landscape lighting system. This gives you centralized control over all your outdoor lighting from one timer or photocell.
Plan It Once, Enjoy It Every Night
The difference between string lights that look like a professional installation and string lights that look like a weekend project comes down to planning. Measure your space, choose the right layout pattern, get the height right, use solid anchor points, manage sag, and pick a bulb style that fits your space.
At Serenity Outdoor Lighting, patio string lights are one of our most requested services. We handle everything from layout planning and post installation to wiring and bulb selection, so the end result looks effortless even though every detail was intentional.
If you want string lights that look like they belong, request a free quote or contact us to talk about your space.