
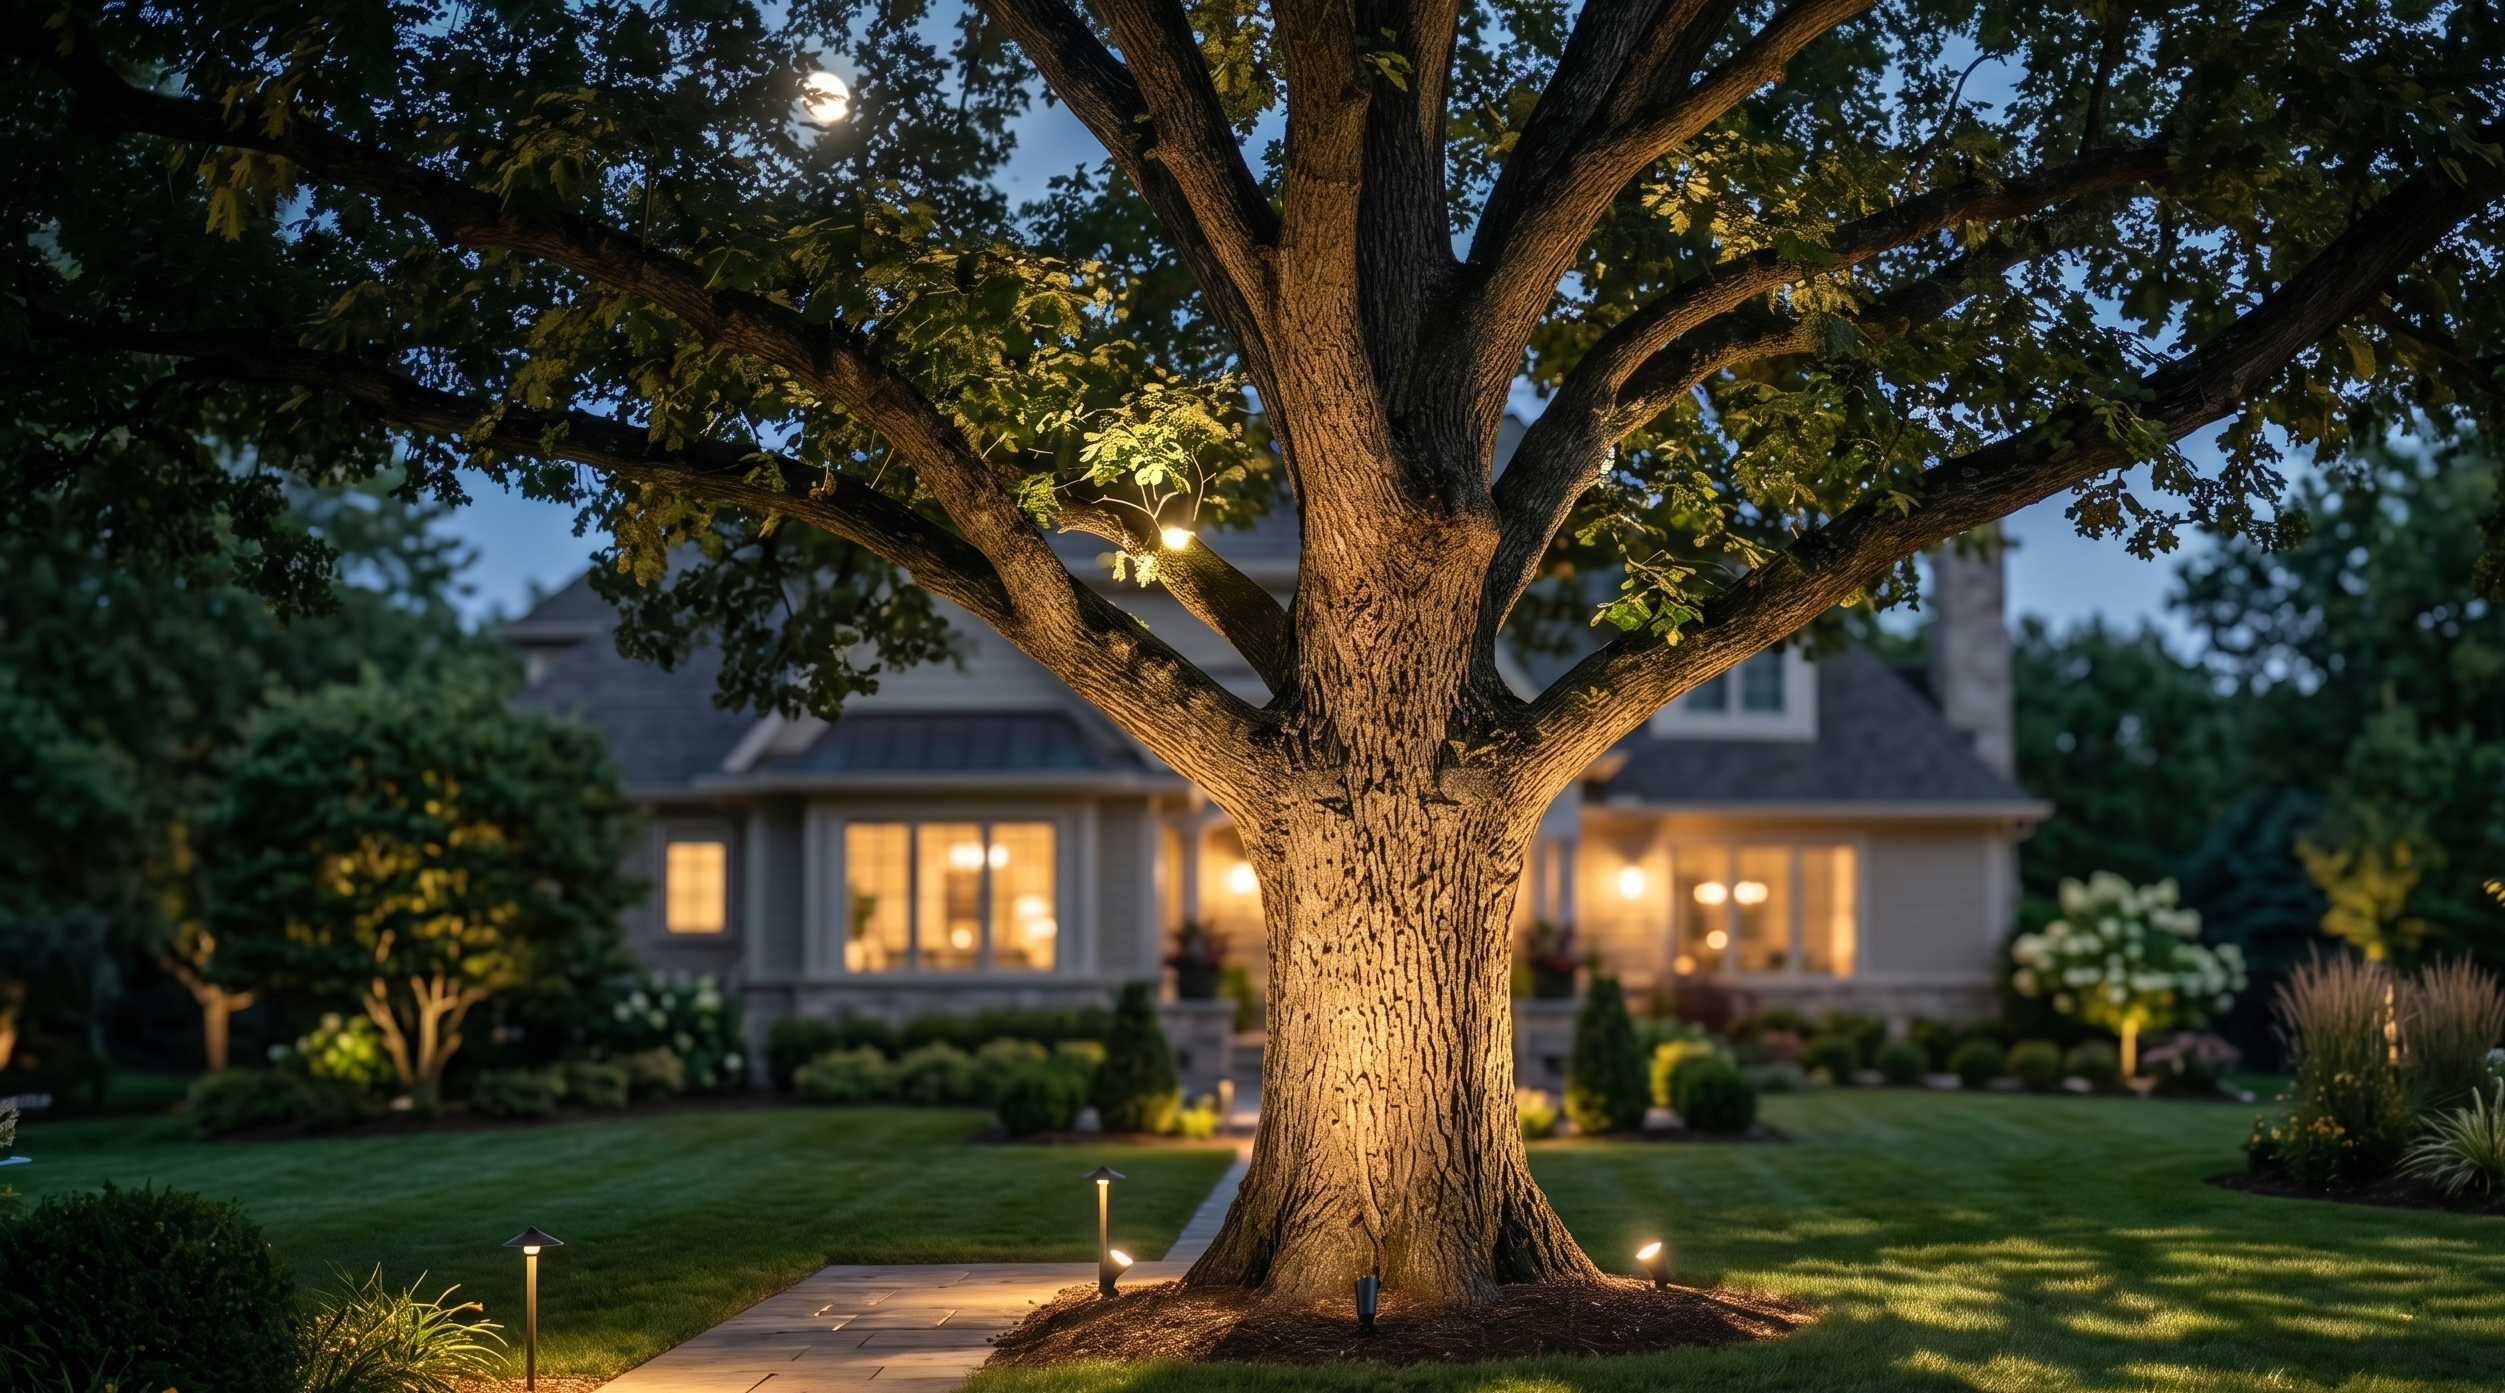
A well lit tree is one of the most striking things you can add to your nighttime landscape. When it is done right, a single mature oak or maple can become the centerpiece of your entire property after dark. The trunk glows. The canopy catches light and shadow. The whole tree looks like it belongs on the cover of a home magazine.
When it is done wrong, that same tree looks like it is being interrogated.
Lighting large trees is one of the areas where restraint matters most. The goal is to reveal the tree’s natural beauty, not to blast it with as much light as possible. Here is how to get it right.
Why Large Trees Deserve Their Own Lighting Plan
Most landscape lighting focuses on the home itself. The facade gets uplights. The walkway gets path lights. The patio gets some ambient glow. Trees, if they get any attention at all, end up with a single spotlight stuck in the ground nearby.
That is a missed opportunity, especially if your property has mature trees. A 40 foot oak with a wide canopy and textured bark has more visual presence than almost any other element in your yard. Lighting it well creates a focal point that draws the eye and gives your entire landscape a sense of scale and depth.
But large trees are complex shapes. They have trunks, major branches, secondary branches, canopy edges, and root flares. Each of those elements interacts with light differently, and a single fixture rarely does the job on its own.
That does not mean you need a dozen lights on every tree. It means you need the right technique for the specific tree in front of you.
Technique 1: Uplighting From the Base
This is the most common approach and a good starting point for most large trees. One or two fixtures are placed on the ground near the base of the trunk, angled upward so the beam travels up the trunk and into the lower canopy.
Uplighting works best on trees with interesting bark texture, like oaks, sycamores, and birches. The light catches the ridges and grooves in the bark, creating shadows that add depth and character. It also emphasizes the trunk as a vertical element, which gives the tree a sense of height and presence.
The key is placement and angle. Too close to the trunk and you get a bright hot spot at the base with nothing above it. Too far away and the beam spreads too wide, losing its focus. The fixture needs to be positioned so the beam hits the trunk at an angle that carries light upward naturally.
For most large trees, two uplights placed on opposite sides of the trunk give a fuller, more three dimensional result than a single fixture. This is called cross lighting, and it reduces the harsh shadows that a single source creates.
Technique 2: Moonlighting From Above
Moonlighting is the opposite of uplighting. A fixture is mounted high in the tree, usually on a major branch 15 to 25 feet up, and aimed downward through the canopy toward the ground.
The effect mimics natural moonlight. Light filters through the branches and leaves, casting soft, dappled shadows on the ground below. On a breezy evening, those shadows move gently, and the result is one of the most beautiful effects in all of landscape lighting.
Moonlighting works exceptionally well on trees with dense, spreading canopies like maples, elms, and beeches. It also works on trees that overhang a patio, walkway, or seating area because it provides functional ambient light in addition to the aesthetic effect.
The trade-off is that moonlighting requires mounting a fixture high in the tree. This takes more effort during installation and can be harder to service later. But for the right tree in the right location, the result is worth it.
Technique 3: Silhouetting
Silhouetting is a technique where you do not light the tree itself. Instead, you place a light behind the tree and aim it at a wall, fence, or flat surface behind it. The tree appears as a dark shape against a bright background.
This works beautifully with trees that have dramatic or unusual shapes, like Japanese maples, weeping willows, or ornamental trees with interesting branch structures. The outline of the tree becomes the focal point, and the effect is striking and artistic.
Silhouetting is also useful when the tree is close to a wall or the side of the house. Rather than trying to uplight the tree in a tight space, you let the wall do the work and showcase the tree’s form through contrast.
Technique 4: Grazing the Trunk
Grazing is a variation of uplighting where the fixture is placed very close to the trunk and aimed almost straight up. The light rakes across the bark at a steep angle, exaggerating every ridge, knot, and texture in the surface.
This technique is all about the bark. It works best on trees with deeply textured or unusual bark, like mature oaks, hickories, London planes, and river birches. The effect is sculptural. The tree trunk looks like a piece of natural art.
Grazing does not light the canopy much, so it is often combined with another technique (like moonlighting or a wider uplight higher on the trunk) to create a complete look.
How Many Fixtures Does a Large Tree Actually Need?
This is where the “overdoing it” part comes in. The temptation is to surround a big tree with four or five fixtures and light it from every angle. More light must mean a better result, right?
Not really. Over-lighting a tree eliminates the shadows and contrast that make tree lighting look good in the first place. If every surface of the trunk and canopy is evenly lit, the tree looks flat and artificial. It loses the depth and drama that made you want to light it in the first place.
For most large trees, two to three fixtures is the sweet spot.
A common and effective setup is two uplights placed roughly 120 degrees apart at the base of the trunk, plus one moonlight mounted in the canopy if the tree overhangs a usable space. That gives you a three dimensional look on the trunk, a canopy that catches light naturally, and functional ambient light below.
Some trees only need one well placed uplight. A tall, narrow tree with a clean trunk (like a tulip poplar) can look perfect with a single fixture aimed up the center of the trunk.
The right number depends on the tree’s size, shape, location, and role in the overall landscape lighting design. A tree next to the front door that serves as a focal point deserves more attention than a tree at the back corner of the property that plays a supporting role.
Common Mistakes When Lighting Trees
Using fixtures that are too bright. A 20-watt spotlight on a small ornamental tree is like using a fire hose to water a houseplant. Match the fixture output to the size and distance of the tree. Large trees can handle more lumens. Smaller accent trees need less.
Placing fixtures too far from the trunk. When the fixture is five or six feet from the base, the beam spreads wide and lights the ground around the tree more than the tree itself. Move the fixture closer, typically 12 to 18 inches from the trunk for uplighting.
Aiming at the canopy from the ground. If you angle a ground-mounted fixture too steeply, the beam shoots through the canopy and into the sky. You light the underside of a few branches and waste the rest. The beam should travel up the trunk first and let the canopy catch light naturally.
Ignoring the tree’s relationship to other elements. A lit tree does not exist in isolation. It is part of your overall property. Consider how the tree lighting interacts with the facade lighting, the pathway lights, and the ambient light in the backyard. Everything should feel connected.
Forgetting that trees grow. A fixture placed perfectly today may need adjustment in two or three years as branches extend, the canopy fills in, or new growth blocks the beam. Good designs account for this by choosing fixtures that are easy to reposition.
The Difference a Professional Eye Makes
Tree lighting is one of the areas where professional design makes the biggest difference. An experienced designer looks at a tree and immediately sees its best features: the texture of the bark, the shape of the canopy, the way the branches divide, the role the tree plays in the overall landscape.
They choose the right technique for each tree, select the right fixture output, and place everything at angles that reveal the tree’s character without overpowering it.
At Serenity Outdoor Lighting, tree lighting is one of our favorite parts of any project. Central Indiana has some beautiful mature trees, and giving them the attention they deserve at night is one of the fastest ways to transform a property.
Let Us Show You What Your Trees Can Look Like at Night
If you have mature trees on your property and want to see what they could look like with professional lighting, we would love to walk your yard and put together a plan.
Request a free quote or contact our team to schedule a visit.