
When you look at a beautifully lit home at night, you probably notice the overall effect before you notice the details. The house looks warm. The trees have depth. The walkway feels inviting.
What you may not realize is that the effect comes from a mix of lighting techniques working together. Two of the most common are uplighting and downlighting. They do very different things, and knowing when to use each one is the difference between a lighting plan that looks professional and one that looks off.
Here is a plain English breakdown of both techniques, when each one works best, and how they come together to light your home the right way.
What Is Uplighting?
Uplighting is exactly what it sounds like. A fixture is placed on or near the ground, and it aims light upward. The beam hits a surface from below, whether that is a tree trunk, a stone wall, a column, or the front of your home.
This technique creates drama. It adds height and dimension to whatever it touches. When you see a home with tall columns glowing at night or a big oak tree lit from the base, that is uplighting at work.
Uplighting is the most popular technique in landscape lighting for good reason. It draws attention to the features you want people to notice and gives your home a sense of scale after dark.
Where Uplighting Works Best
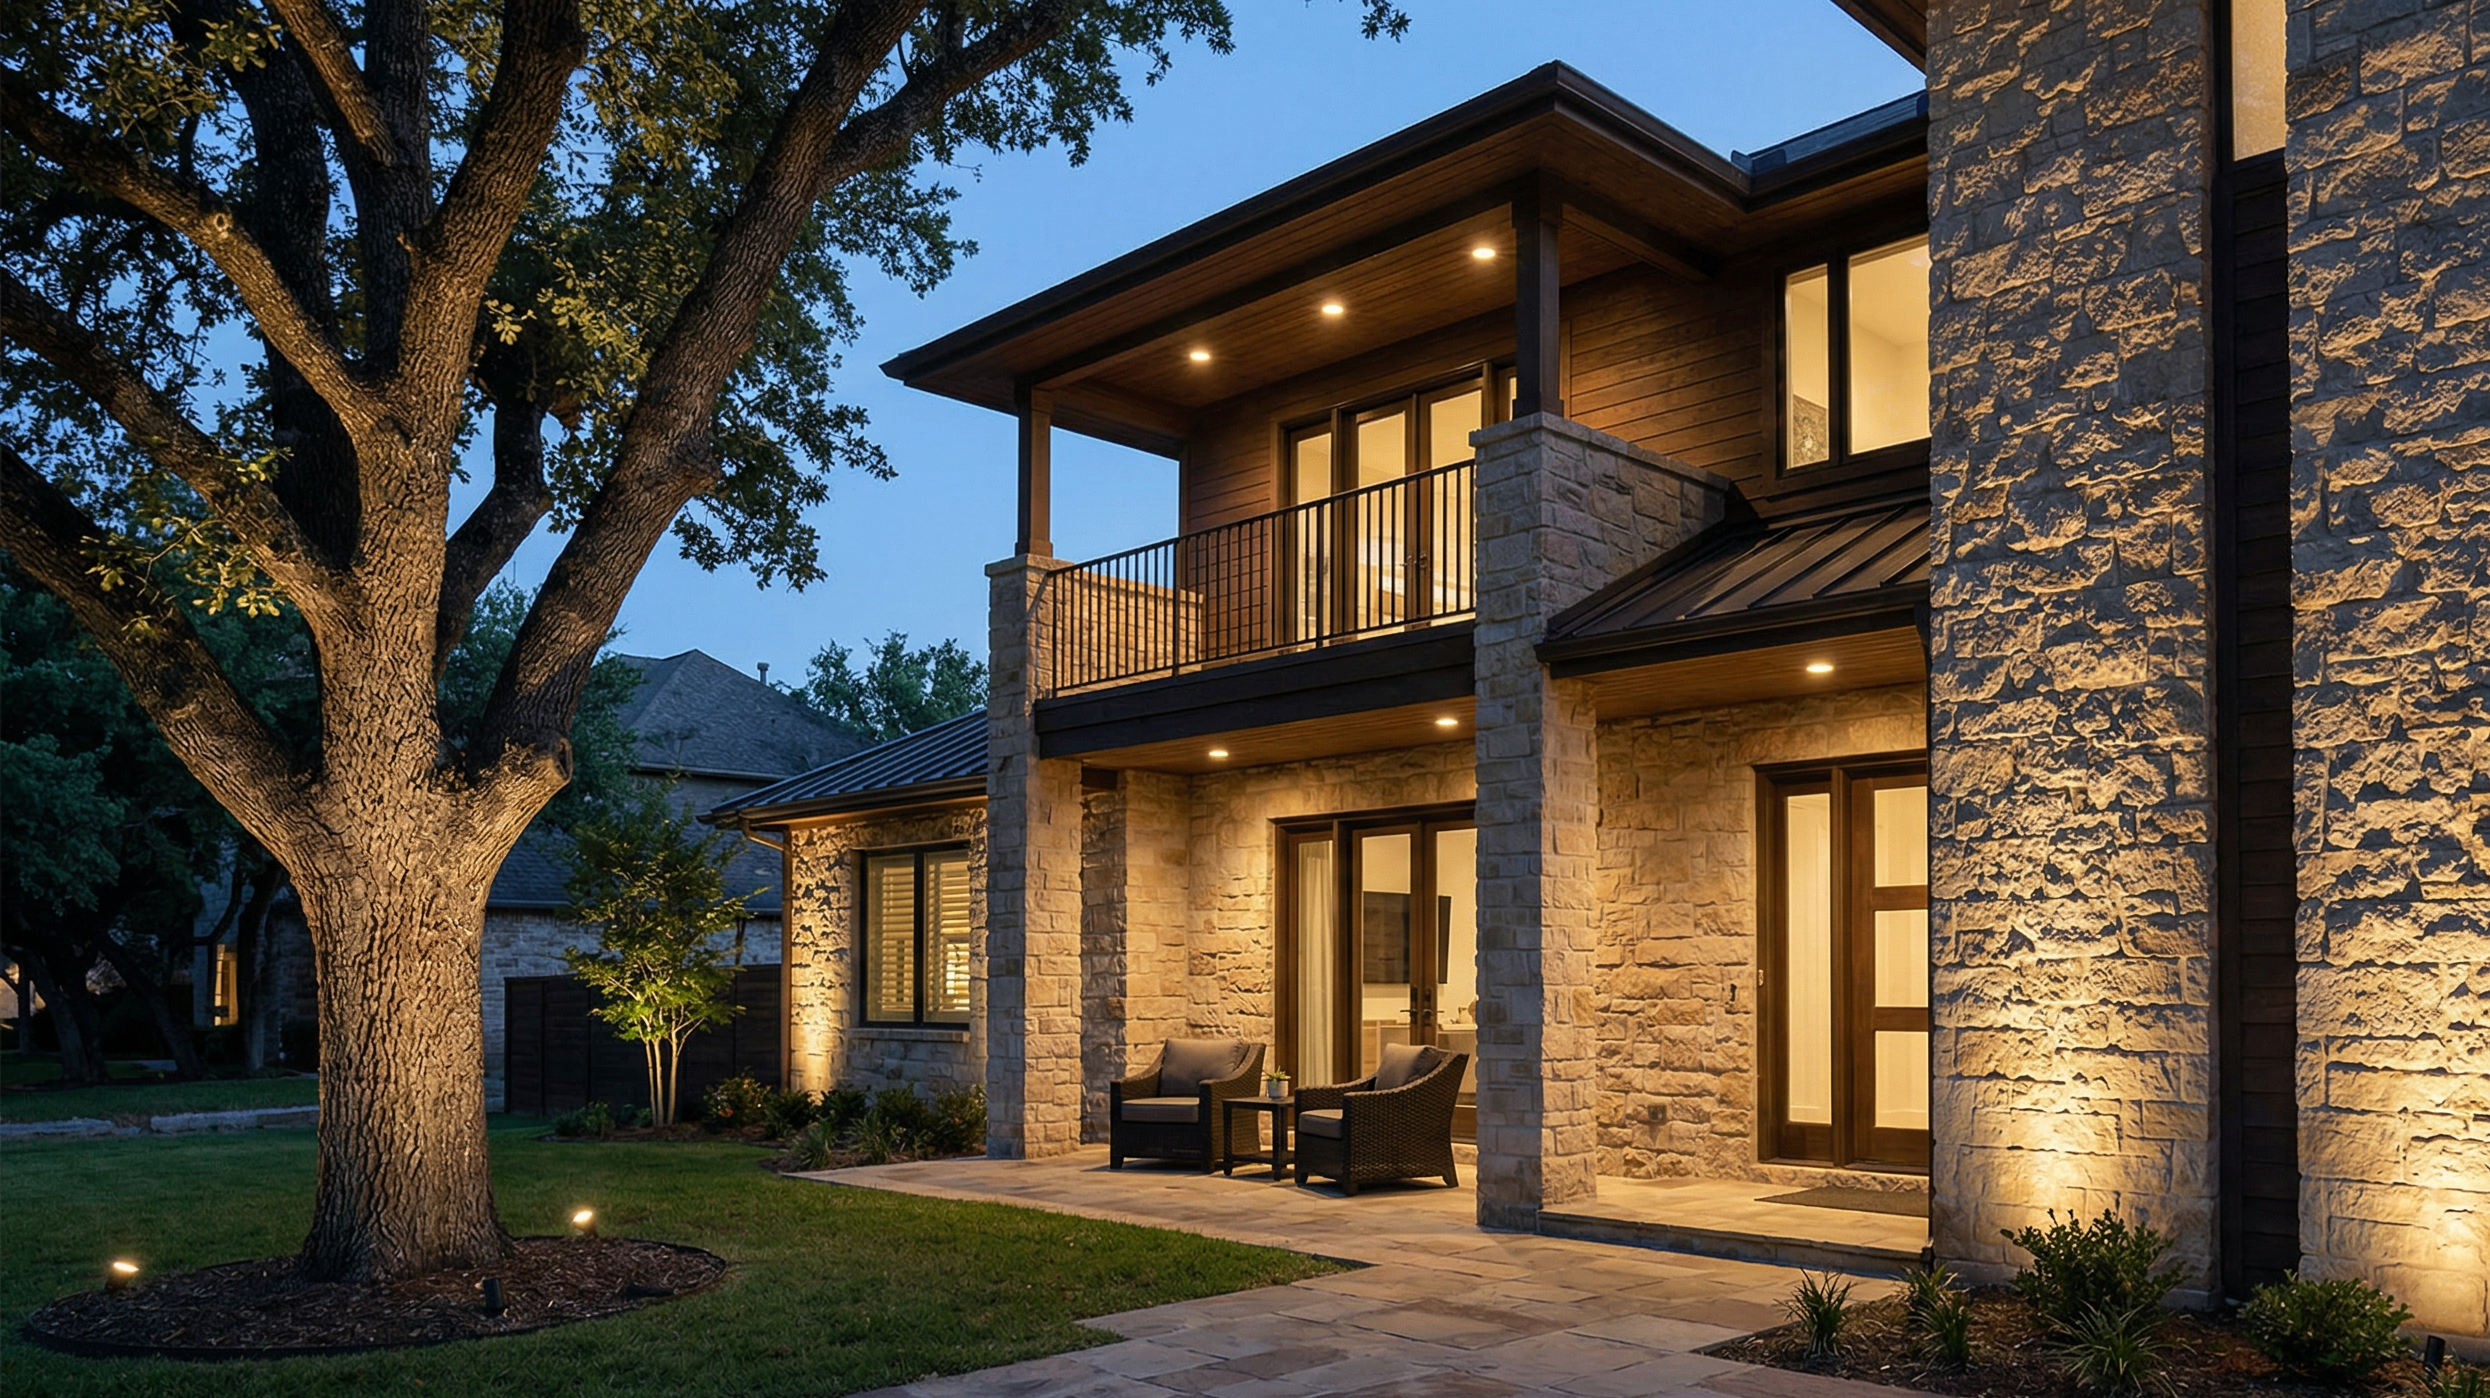
Home facades: Placing fixtures at the base of your home and angling them upward washes light across the front walls. This highlights texture in stone, brick, or siding and makes the house feel taller and more stately.
Trees: Uplighting a tree from the base creates a striking effect. The light travels up the trunk and into the canopy, showing off the shape and structure of the tree. This works especially well with mature hardwoods that have interesting bark or branch patterns.
Columns and pillars: If your home has columns on the porch or entryway, uplighting them from the ground makes them glow and adds a focal point to your front elevation.
Garden features: Statues, large planters, boulders, and other landscape elements pop when lit from below. It gives them a presence they do not have during the day.
Where Uplighting Falls Short
Uplighting is not the right choice for every situation. When used on a flat, featureless wall, it can look bland because there is no texture for the light to catch. It also does not work well for lighting ground-level areas like walkways or patios, because the beam goes up, not down where you need to see.
And if fixtures are placed too close to a surface or aimed at the wrong angle, uplighting can create harsh shadows or glare. This is one of the reasons professional design matters so much.
What Is Downlighting?
Downlighting is the opposite approach. The fixture is mounted high, on a tree branch, under an eave, on a pergola, or on a tall post, and it aims light downward toward the ground.
This technique mimics the way natural light works. Think about moonlight filtering through tree branches. That soft, even glow on the ground below is essentially what downlighting recreates. In fact, the technique of mounting lights high in a tree to cast a wide, gentle wash below is literally called “moonlighting.”
Downlighting feels calm and natural. It does not demand attention the way uplighting does. Instead, it creates a comfortable, usable glow in the spaces where people actually spend time.
Where Downlighting Works Best
Patios and decks: Mounting fixtures under eaves, on pergola beams, or in nearby trees and aiming them down gives you functional light for dining, cooking, and relaxing without the harsh feel of a floodlight.
Walkways and paths: While dedicated pathway lighting fixtures are the most common choice for paths, downlighting from trees along a walkway creates a softer alternative that some homeowners prefer.
Outdoor kitchens and seating areas: Anywhere people gather at night benefits from downlighting. It provides the kind of visibility you need to move around safely and comfortably without creating glare or hot spots.
Large tree canopies: Mounting a light high in a tree and pointing it down through the branches creates beautiful shadow patterns on the ground below. On a breezy night, those shadows move gently, and the effect is stunning.
Where Downlighting Falls Short
Downlighting requires a mounting point above the area you want to light. If there are no trees, structures, or eaves nearby, you may not have a natural place to install fixtures. Adding poles or posts just for downlights can work, but it adds cost and sometimes looks forced.
Downlighting also does not do much for vertical surfaces. If you want your home’s facade or a garden wall to stand out, downlighting alone will not get the job done.
How Uplighting and Downlighting Work Together
Here is the part that matters most: the best landscape lighting designs use both techniques together. They are not competing options. They are complementary tools.
Think about it this way. Uplighting handles the “wow” factor. It makes your home, trees, and features look dramatic and impressive. Downlighting handles the “livability” factor. It makes your outdoor spaces feel comfortable, safe, and usable.
A well designed plan layers both techniques across your property. The front of the home gets uplighting on the facade and key trees. The backyard gets a mix of downlighting over the patio and uplighting on accent features. The walkways get their own dedicated path lights. Everything works together so there are no dark voids or harsh transitions.
This layered approach is exactly what our team does during the custom design process. We walk your property, identify the features that deserve attention, and then choose the right technique for each one. The goal is a result that looks like it belongs there, not a collection of random lights scattered around the yard.
Other Techniques Worth Knowing
Uplighting and downlighting are the two big categories, but there are a few more techniques that come up in most designs:
Silhouetting: A light is placed behind a feature (like a shrub or sculpture) and aimed at a wall behind it. The feature appears as a dark shape against a lit background. This adds mystery and visual interest.
Grazing: Similar to uplighting, but the fixture is placed very close to a textured surface (like a stone wall) so the light rakes across it at a steep angle. This exaggerates the texture and creates deep shadows in the grooves.
Cross lighting: Using two fixtures to light the same feature from different angles. This reduces harsh shadows and gives the object a more three-dimensional look. It works especially well on large trees.
Shadowing: A light is placed in front of a feature and aimed so the feature casts a shadow on a wall or surface behind it. The shadow becomes part of the design.
Each of these builds on the basics of uplighting and downlighting. A skilled designer knows when to pull each one into the plan based on what your property needs.
Which One Does Your Home Need?
The honest answer is probably both. Very few properties look their best with only uplighting or only downlighting. The magic happens when the two are combined in a thoughtful way.
That said, if your main goal is curb appeal and you want your home to look stunning from the street, uplighting will do the heavy lifting. If your main goal is creating a comfortable outdoor living space in the backyard, downlighting will be your foundation.
And if you want the full effect, a custom design that layers both techniques (along with pathway lights and accent features) will give you a result that looks and feels like a high-end property.
See What the Right Lighting Plan Can Do for Your Home
The best way to understand how uplighting and downlighting will look on your specific property is to have a professional walk it with you. Every home is different, and what works on your neighbor’s house may not be the right approach for yours.
At Serenity Outdoor Lighting, we design every project from scratch based on your home, your landscape, and your goals. We would love to show you what is possible.
Request your free quote or contact us to set up a time to walk your property together.